Learn how to create a dark mysterious hideout in a rocky mountainous place in Photoshop. How will we find this tutorial useful? Well, I won’t brag about this tutorial, so I have to tell you that I won’t promise you special or sophisticated techniques used in this tutorial. However, by reading and following this tutorial, you will be amazed on how simple and essential techniques like blending, masking, color adjustments, basic painting and some others can be easily applied to create a nice scenic panorama.
What you’ll be creating
The idea of this tutorial is just simple is that creating dramatic scene featuring rocky mountainous place set in dark scenic atmosphere which people may assume (just like I do hehehee…) to be a hideout where vampires, ghost or sorts of reside. So get yourself ready with your Photoshop CS3 or newer, a glass of tea or coffee and….. a pack of cigarette will be good companions. Let’s start !

Tutorial Resources
- Rocky Mountain - Pixabay
- Rocky cliff – Pixabay
- Rock Texture – Cgtextures
- Waterfall – Pixabay
- Castle – Pixabay
- Cloud and Moon – Pixabay
- Tree – Pixabay
- Tree – cgtextures
- Bridge – Pixabay
- Fairy House – mysticmorning
- frida4STOCK – fridagb
Step 1
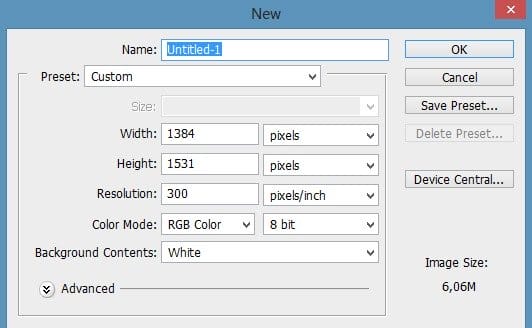
Open Photoshop and start creating a new document in it by hitting Ctrl+N. Set the size of the document like the one shown in the screenshot below:
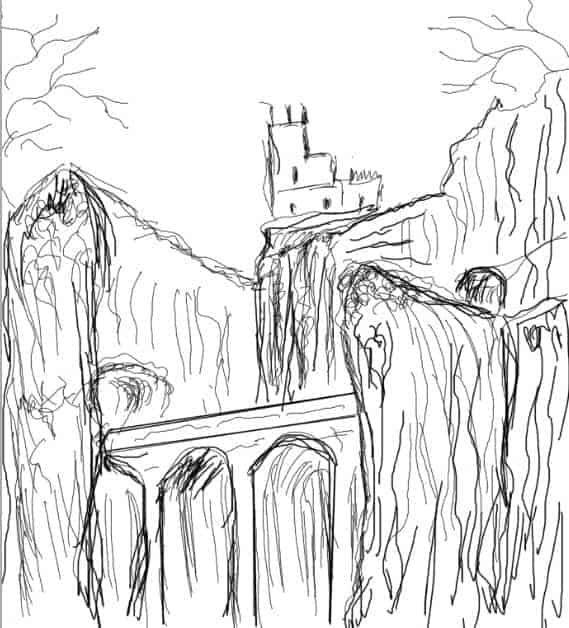
Firstly, I tried to map what I had in mind by creating gradual scratches about the scene I am going to create. Here it is:.
Step 2
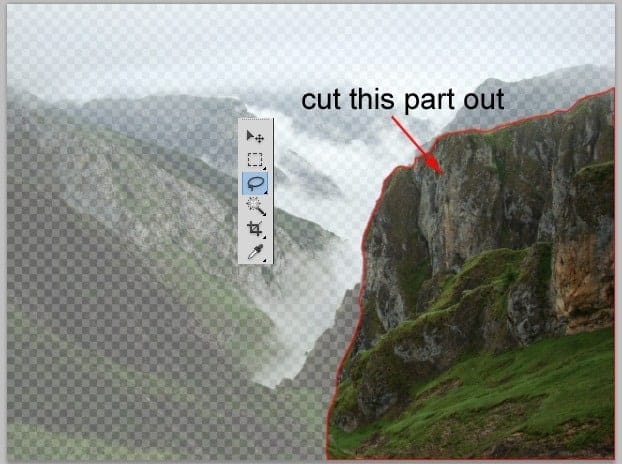
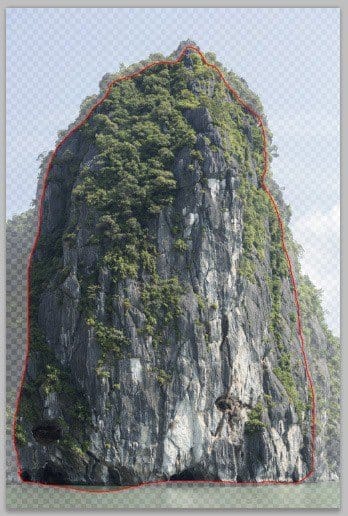
Well, make sure that we have downloaded all stocks in the stock list and save them in our computer. In this kind of photo manipulation, finding good stocks will be essential. Good and suitable stocks really will help us to execute the idea we have. In this early step we will create the right composition of our scene. Open the stock image. Take lasso tool in the tool panel and cut out the rock highlighted in red. I named this cut out rock 1
Step 3
Add the cut out to the main document. Take free transform tool (Ctrl+T) and then scale its size. Place it in left part of document. Here is the screenshot for your inspiration.
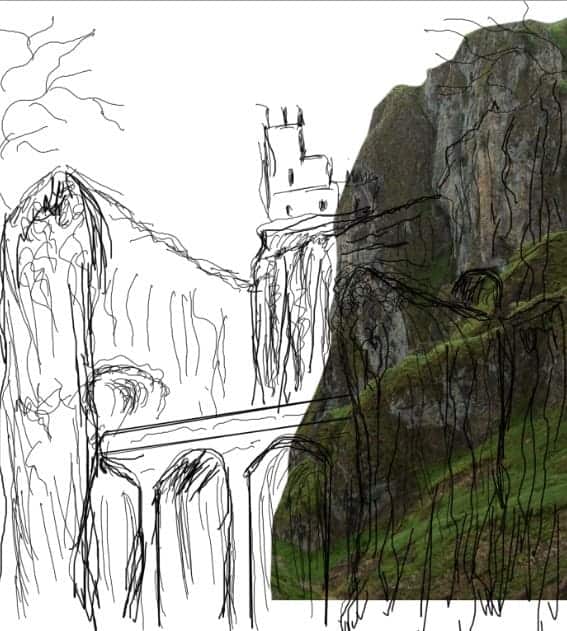
Duplicate the rock 1 layer (Ctrl+J) and place the duplicate where needed as shown in the screenshot. Select all the rock layers and group them in one folder. I named this folder rock.

Step 4
Proceed to add another rock to fill the composition on the left of the scene. Open the other rock image and cut out the red highlighted part. I named this cut out left rock..
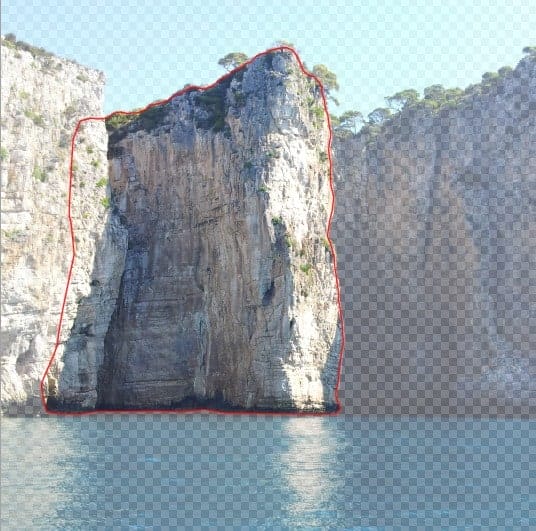
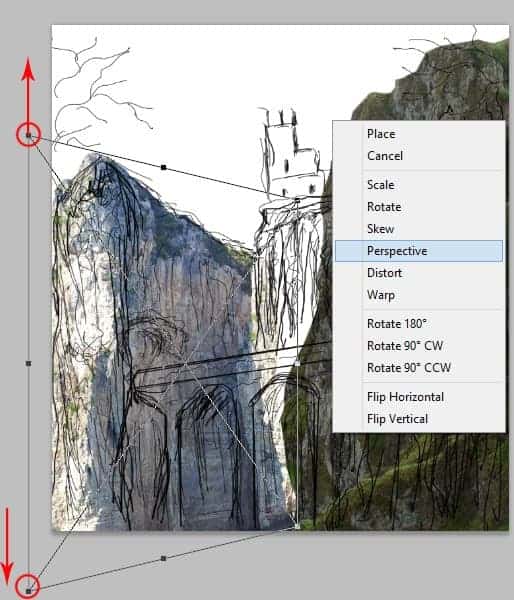
Add the left rock to the main scene. Make sure to position this left rock layer above the rock folder. Take free transform tool. With the tool scale its size to the one needed. We need to alter the perspective of this rock, to do this right click on the document when the free transform tool still activated to show up free transform option. Choose perspective. Drag the anchor point to the direction shown in the screenshot to alter the perspective of the rock:
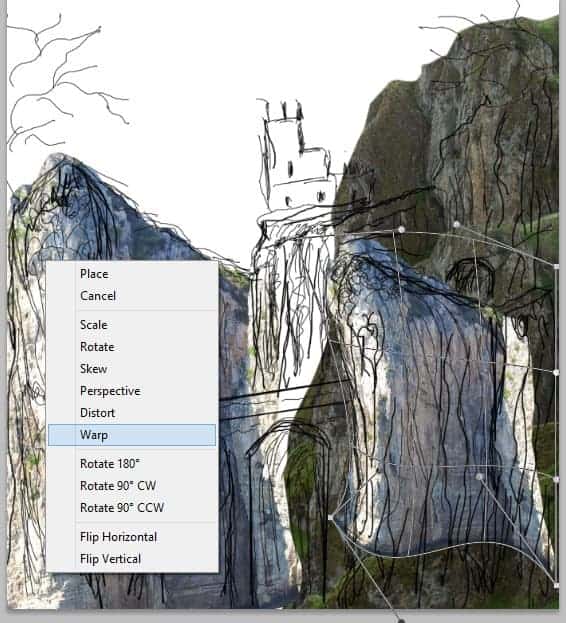
Duplicate the left rock layer and move the duplicate to the right side to place it in front of the rock created in previous step 3. I named this duplicate right rock. Take the free transform tool and alter the shape of this right rock by warping it.
Step 5
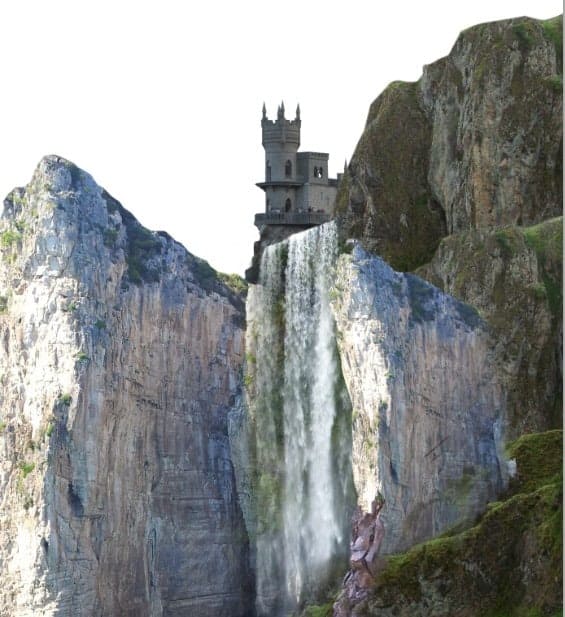
In this step we will add waterfalls to the scene. Open the waterfall image and cut out the part needed.
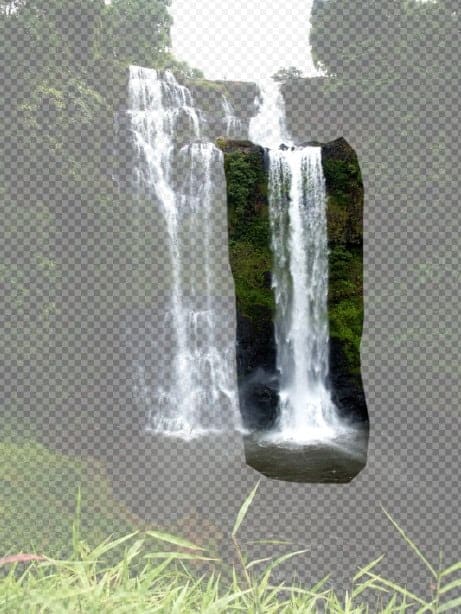
Add the waterfall to the main scene. Scale its size and place it between the right and left rock. Flip it horizontally and alter the perspective to have the one like this:
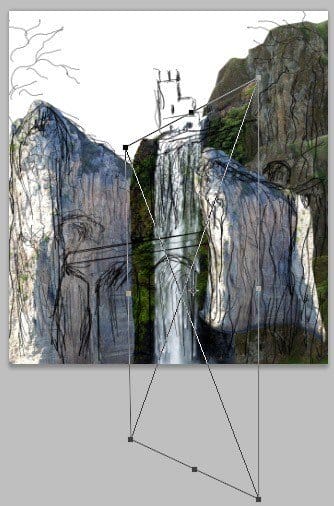
Here is what we should have so far….
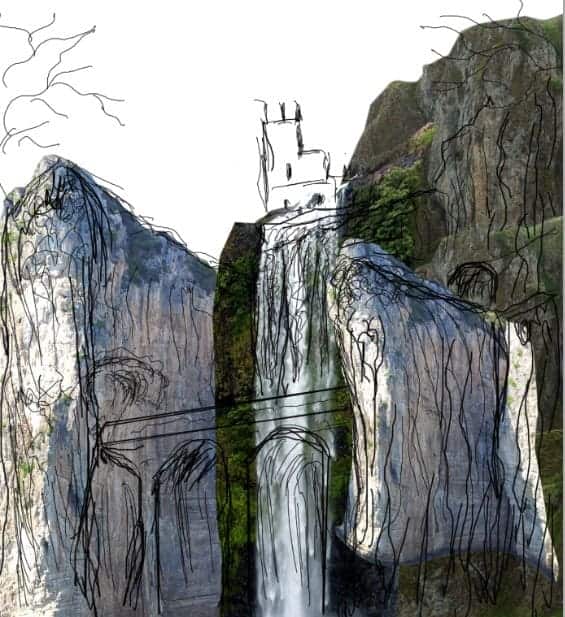
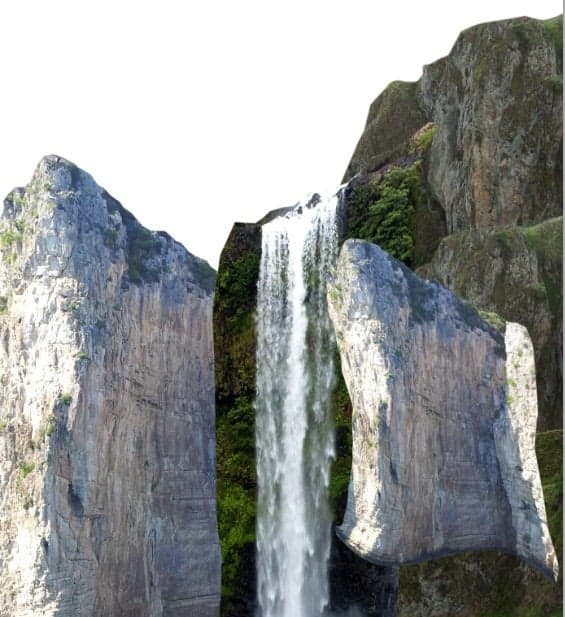
We need to hide some unneeded parts of the waterfall layer. I think we know what to do to execute this purpose, don’t we? Yes…..! We use layer mask…! Give this waterfall layer a layer mask and mask parts unneeded as highlighted in red to hide them. Use a very soft round brush to mask them.
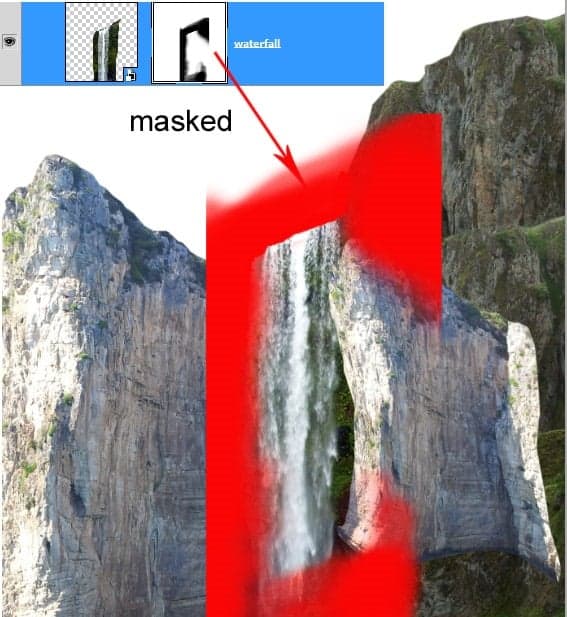
Here is the result I created after being masked.
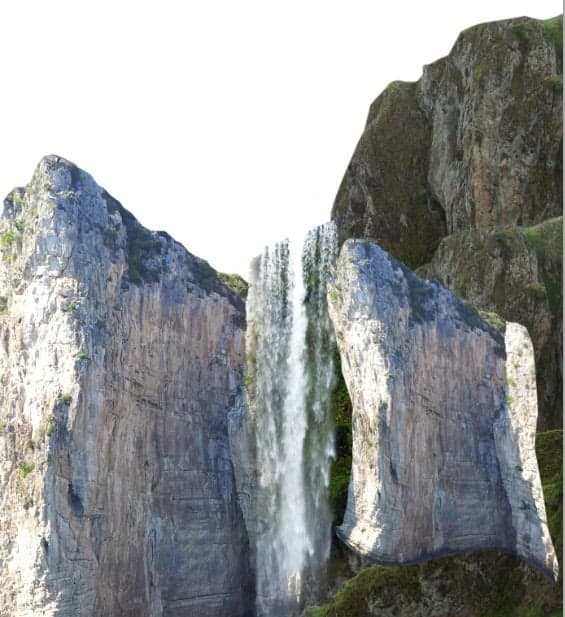
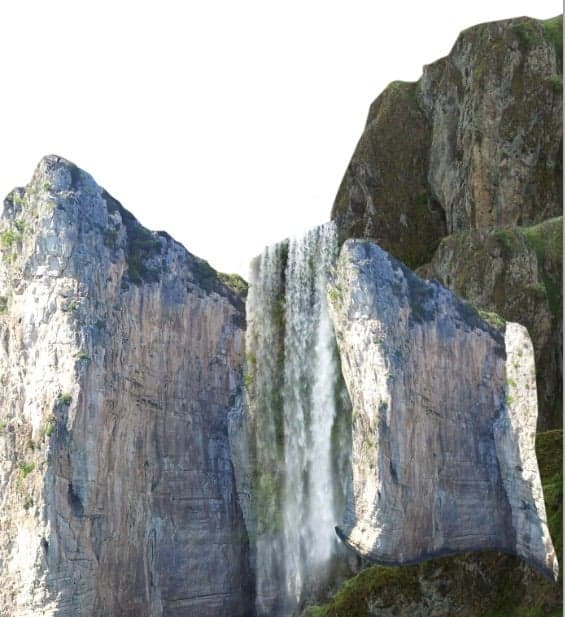
Next, duplicate the waterfall layer and move the duplicate to the right a bit to have the result like the one below. Don’t be panic if you do not get the exact result like the one I created, you can compose your own waterfall composition like you prefer. It’s not a big deal, is it? So can we go on now?
Step 6
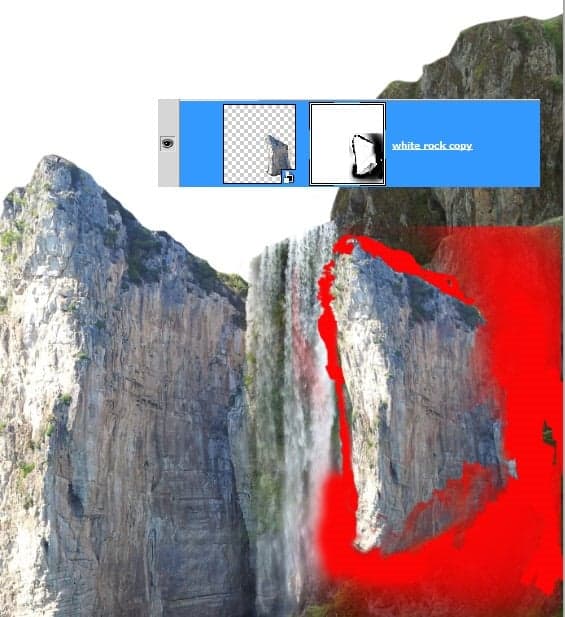
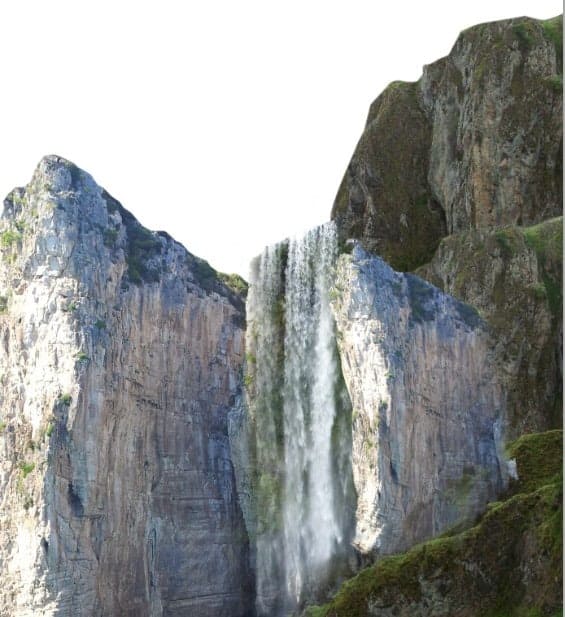
Ok, let’s go to the next process. Select the right rock layer again to be active on it. Give this layer a layer mask. Mask some areas where needed as highlighted in red. The main purpose of this masking is to blend the layer to the rock behind it. Use a very soft brush to do this. To alter the shape of the rock edges we can mask them as well, we should use chalk brush taken in the brush preset to this purpose.
Step 7
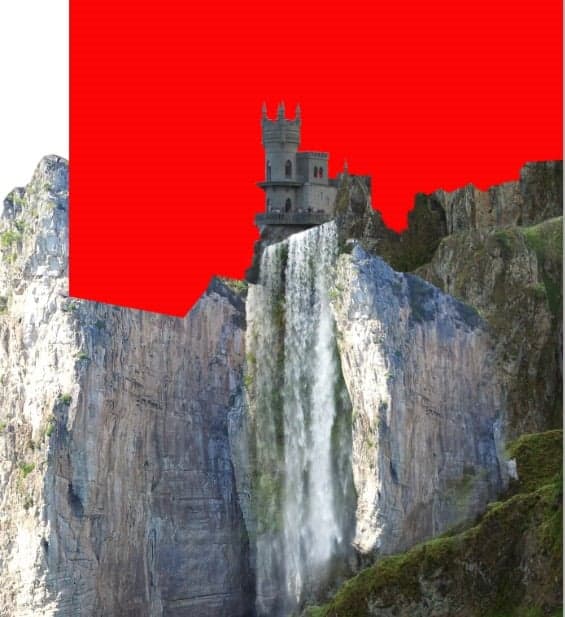
Proceed to add another object in the scene. Place the castle image in the main document. Scale its size and position it behind the rock folder created in previous step 3.
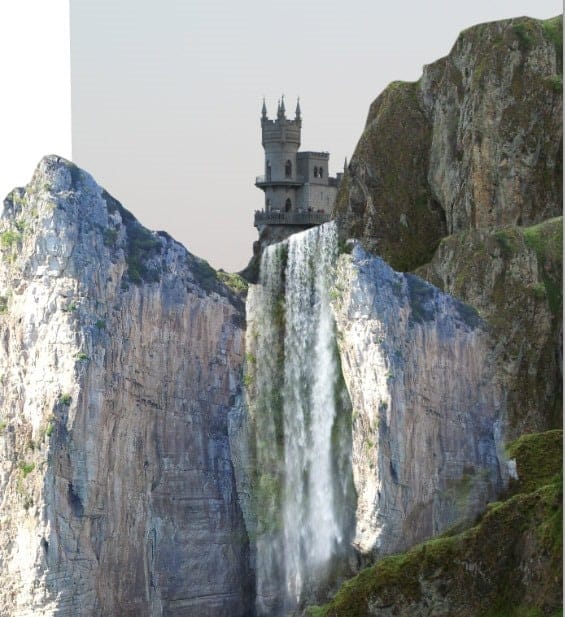
Hide the background of this image by masking it.

Step 8
We need the other stock image to be added to the scene. We use this image for this purpose. Cut out the some part of the rock in the image.
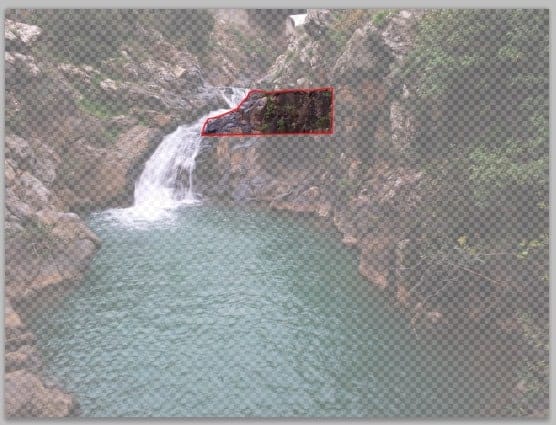
Add the cut out in the document. Scale it size and place it in front of the right rock layer. Rotate its position to have the one like I did:
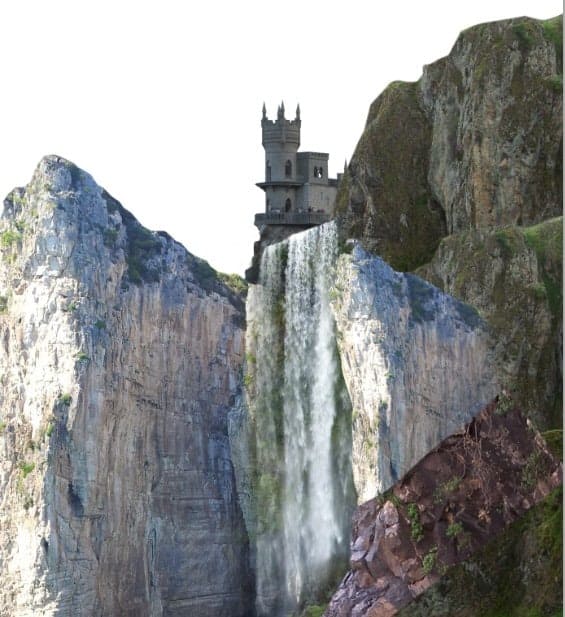
Mask parts unneeded.
Step 9
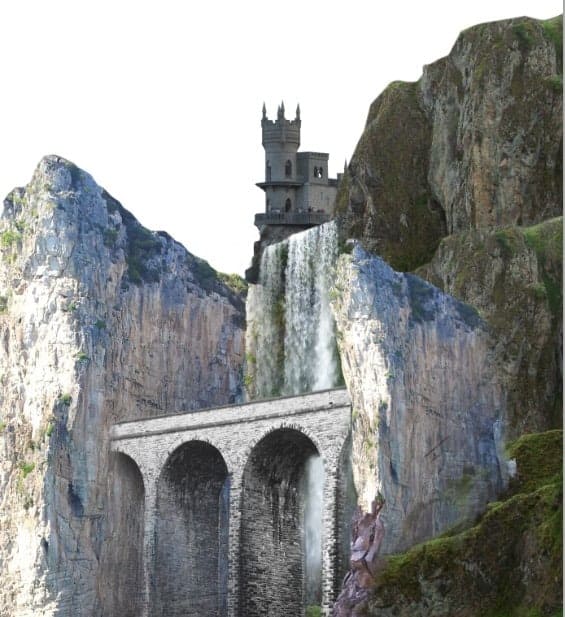
Now add the bridge to the scene. Scale its size to the one we need. Position this layer in front of the waterfall between the right and left rock.
Step 10
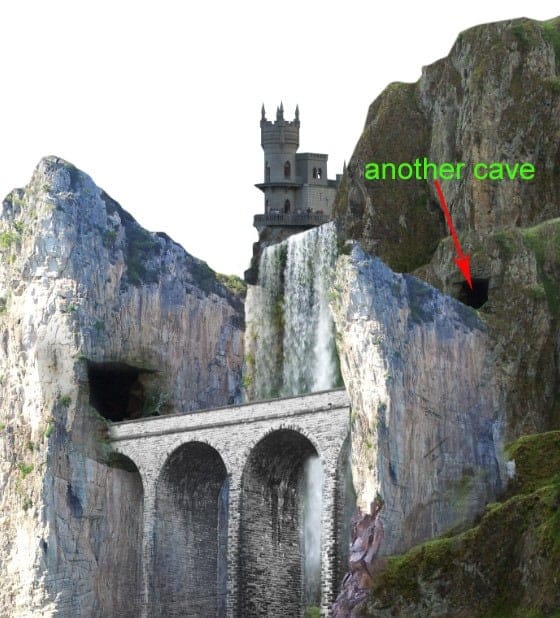
In this step we will add tunnels or caves ( I am not sure myself what they are….LOL)in the scene. We use this image to fulfill this purpose. Cut out the part needed.
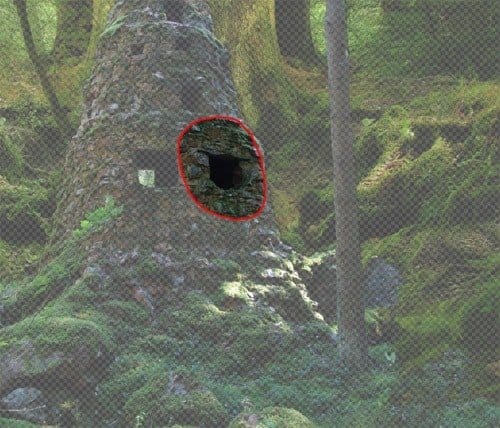
Add the cut out to scene. To blend it to the rock behind, mask the edge of the cut out. I named this cut out left cave.
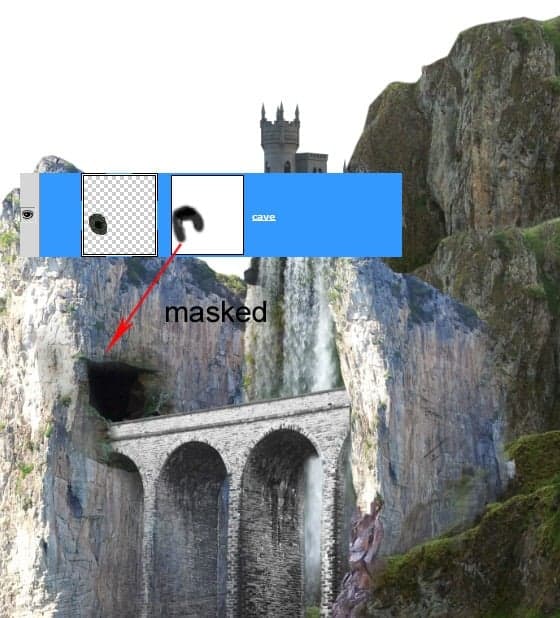
Duplicate the cave layer. Flip the duplicate horizontally, scale the size and place it in front of the rock on the right. Mask areas where needed.
Step 11
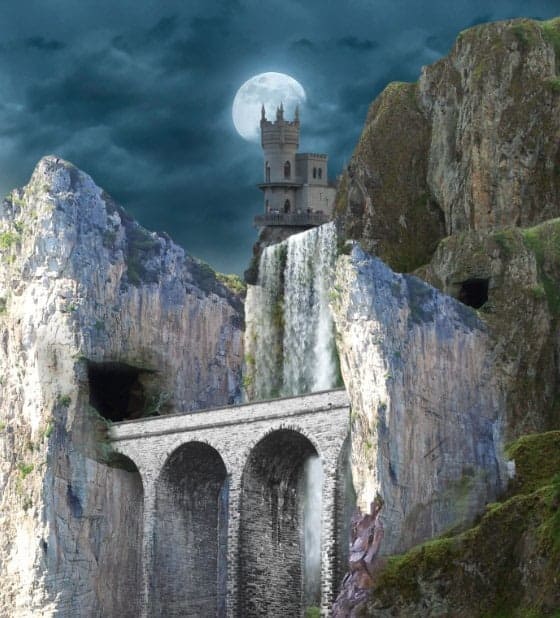
Finally we will add cloud and moon as the background for the scene. Place the cloud image in the scene. Make sure to position this layer behind all the other layers. The moon will give dramatic nuance to the scene, so it will something fantastic if we position the moon right behind the castle. Don’t you agree? So be it…..!
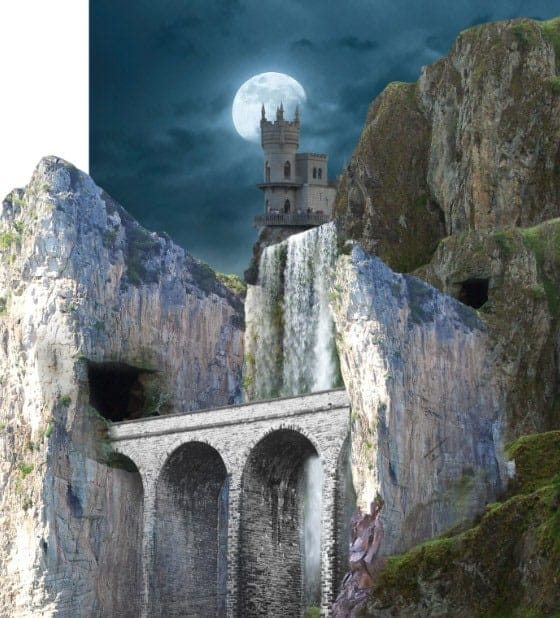
We need to fill the blank part of the background. We do this just simply by duplicate the cloud layer. Scale the size of the duplicate to the one needed and move it to the left to cover the blank. Where is the moon? The moon is now covered by the cloud.
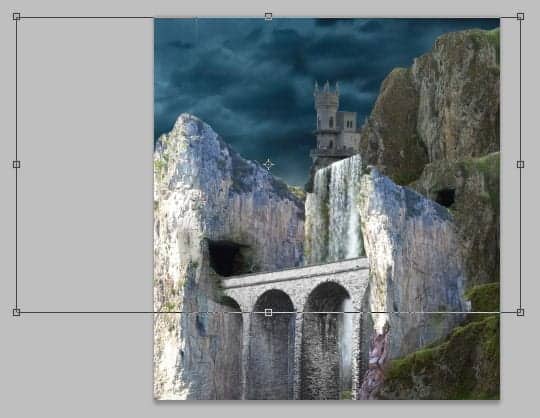
Give the duplicate layer mask and mask areas round the moon to reveal it. Here it is now:

Step 12
I decided to hide some areas on the rock 2 layer by masking them. So go to rock folder created in previous step 3. Open the folder and select the rock 2 layer. Give this layer a layer mask and mask some areas around it as indicated in red color.
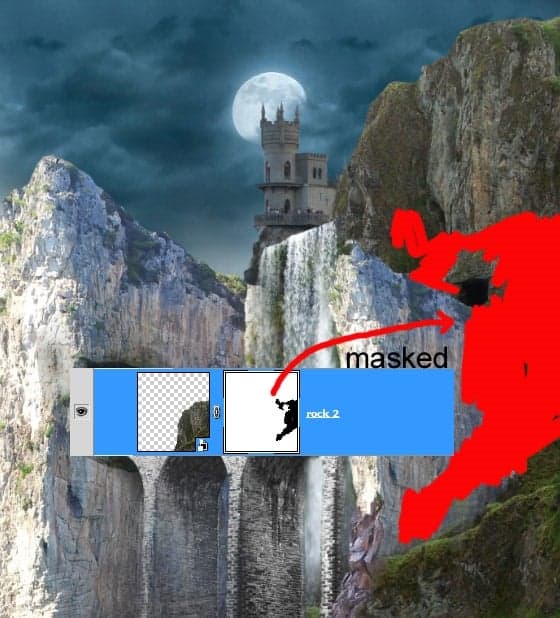
This is what I did as the result:

We need to alter the shape of this rock a bit. To do this, we will get ride some upper part of the rock.
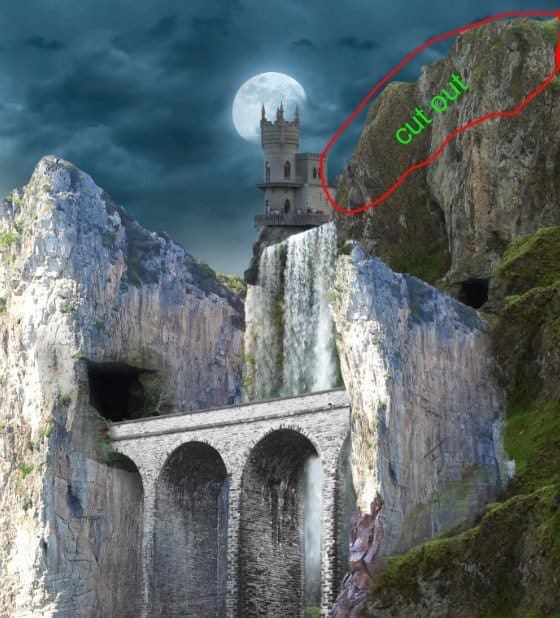
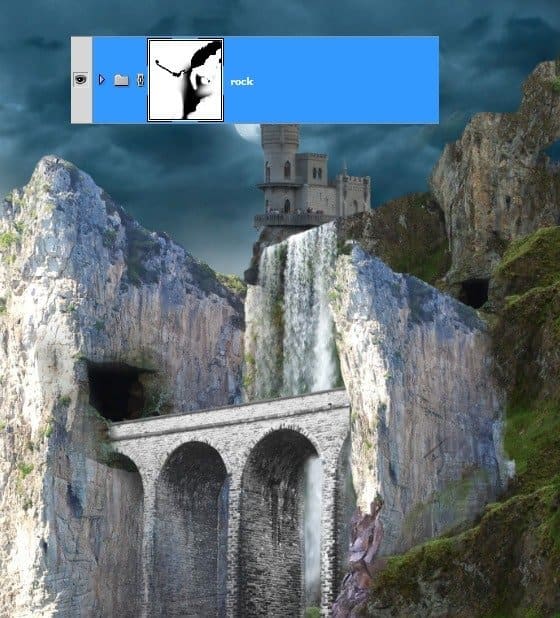
Give the rock folder a layer mask and mask the upper part of the rock.
Step 13
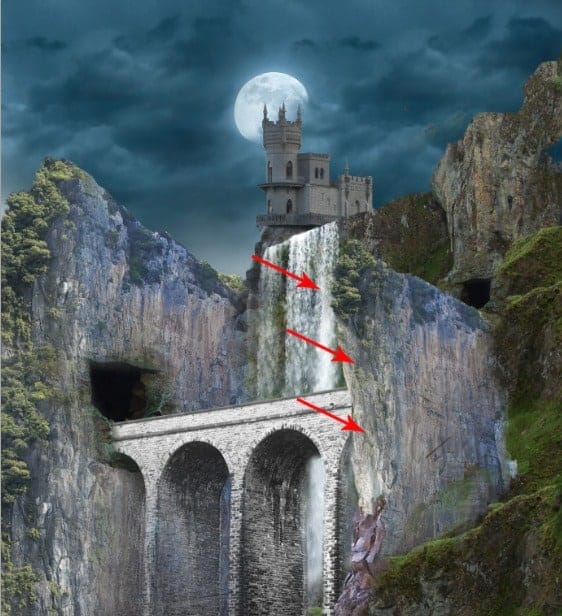
So far we have almost finished the composition of the scene. However referring to the moon as the main light source, the front sides of the right and left rock are too bright while the moon is in upper position behind them. The moon light does not shine that much on the areas. We will fix this in the following step.
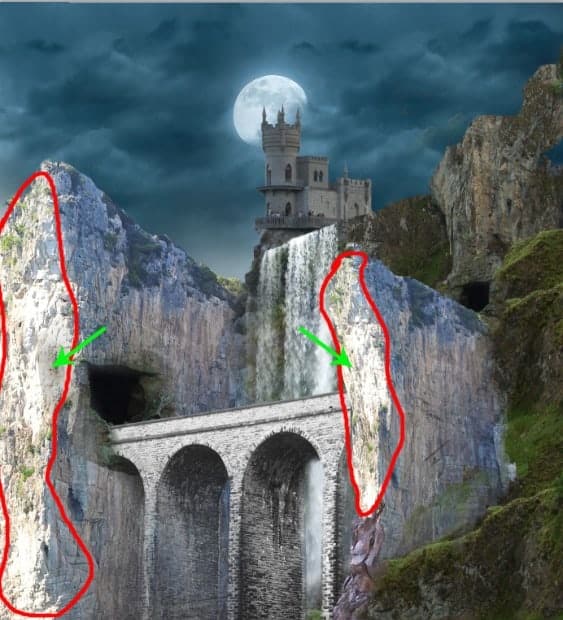
To fix the bright parts, we will give them the other rock texture. Open the rock image and cut out the part used to be texture:
Scale the size of the texture and place it in front of the left rock to cover the bright part of it.
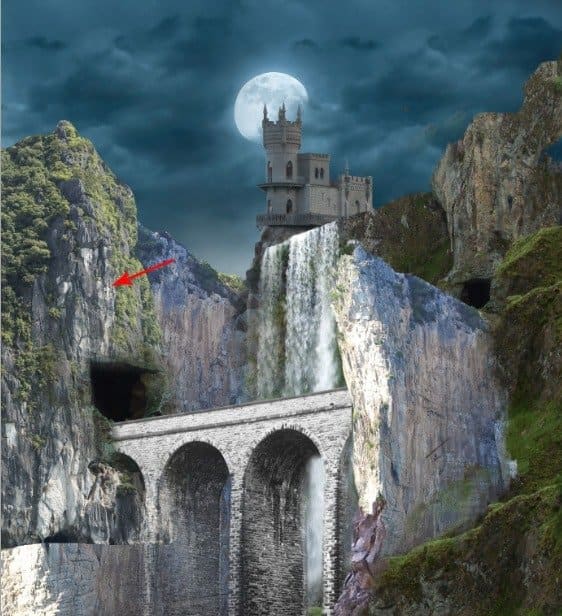
Then give this texture a clipping mask.
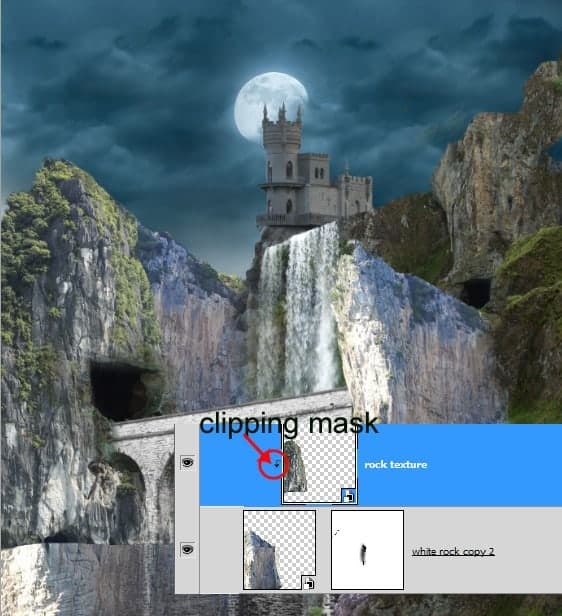
Finally mask some parts of this texture where needed.
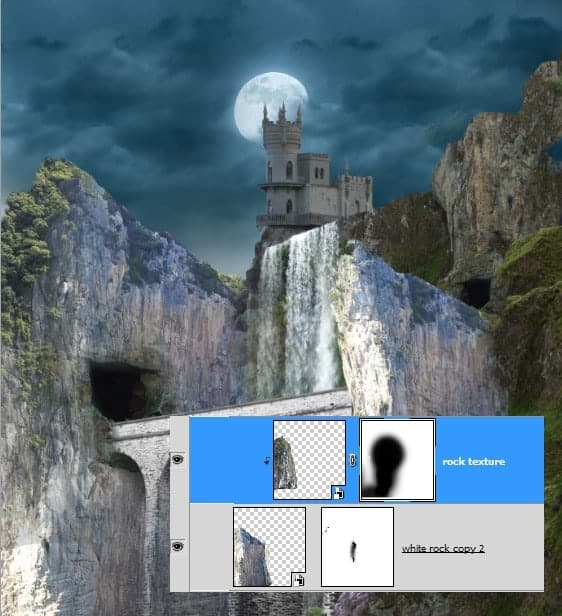
Duplicate the texture layer. Move the duplicate downward to cover the rest of the bright parts of the rock. Here is the result I created for our inspiration. Select the left rock and texture layers and hit Ctrl+G to group them in a folder. I named the folder left rock.

Do the same ways to cover the bright parts of the right rock by giving them the same rock textures.
Step 14
Now we will fix the castle. We will get rid of the people seen in the image, we do not need the people. There should be vampires or Dracula living there instead…. LOL.
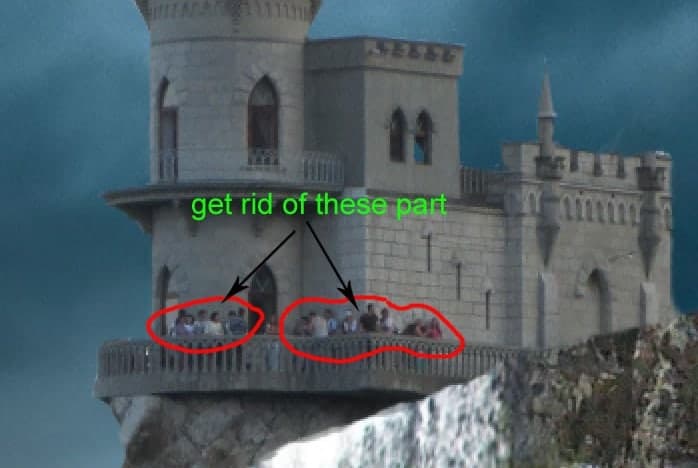
To get rid of the people we can do this by painting over them, using clone stamp tool or patch tool. On my own, I used simple way to do this purpose. Cut out the nearest wall and use the cut out to cover the people. Make sure to give the cut out layer a clipping mask.


Mask the edges of the cut out to blend them well to the main wall.
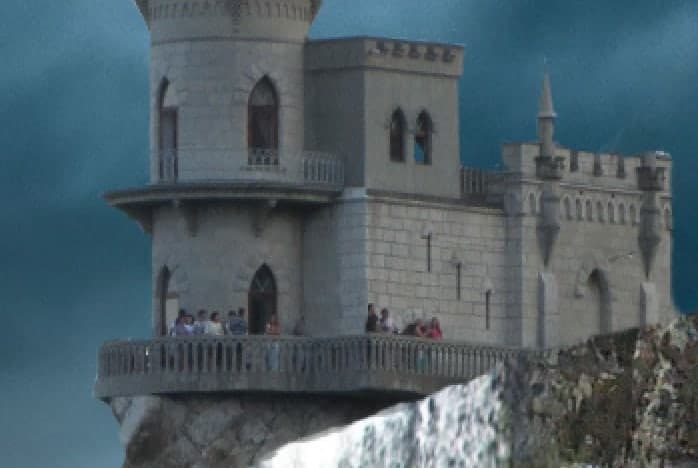
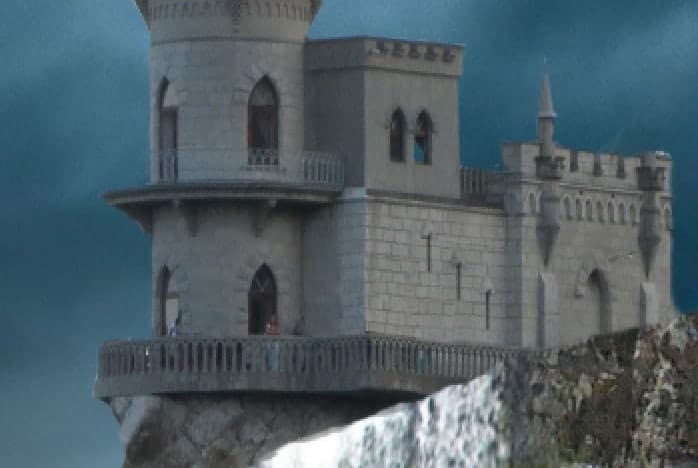
Do the same ways to cover the other parts of the image.
from Photoshop Tutorials http://ift.tt/1D5E5vB
via IFTTT


0 Comments