
In this tutorial, I’ll show you how to create an abstract sci-fi scene. You’ll learn how to combine different stock photos, create abstract elements, work with group and adjust lighting effect.
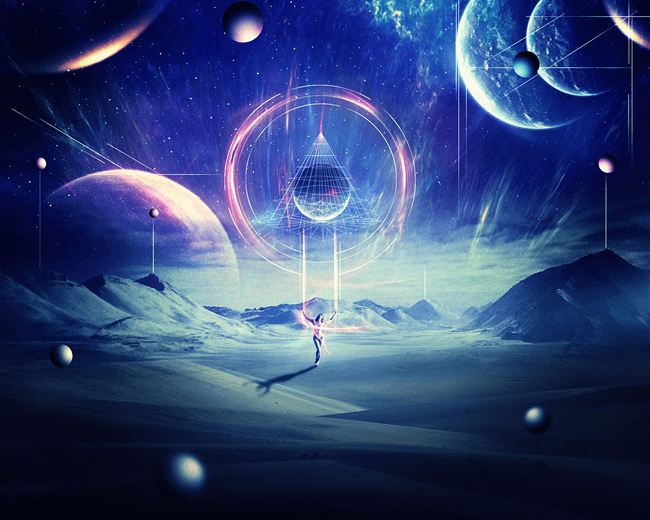
What you’ll be creating
We’ll start this tutorial by setting up a night scene from a sky, two deserts images and starry textures. Then we’ll add the planets, the model, apply some nebula textures as well as create some abstract elements and blend them all together using adjustment layer, masking and brush. Finally we’ll add more lighting effect and adjust color of the whole scene. You’ll need Photoshop CS3 or newer to follow this tutorial.
Tutorial Resources
- Model
- Star background
- Sky
- Background
- Foreground
- Light effect
- Nebula 1
- Nebula 2
- Nebula 3
- Nebula 4
- Planet 1
- Planet 2
- Wire triangle
Step 1
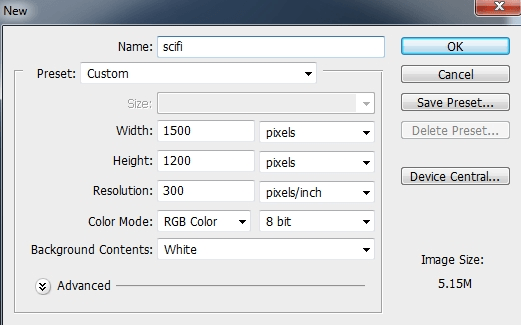
Create a new document in Photoshop with the given settings:
Step 2
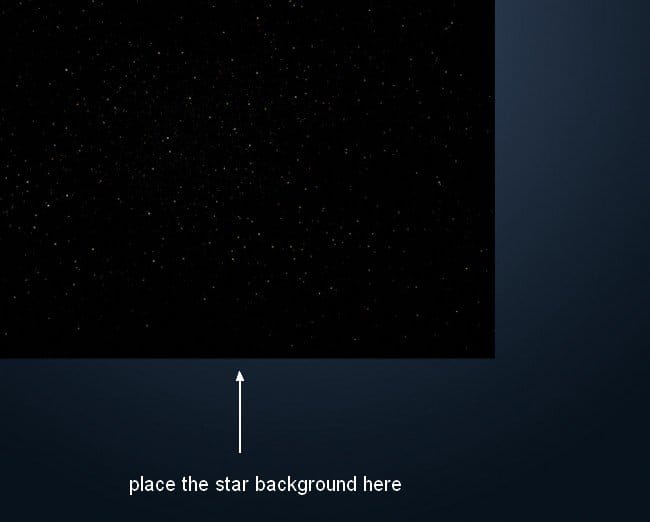
Press Cmd/Ctrl+Shift+N to make a new layer. Hit G to active the Gradient Tool and choose Radial Gradient with the colors #384962 and #09131d. Drag a line from the top center to the bottom of our white canvas:

Step 3
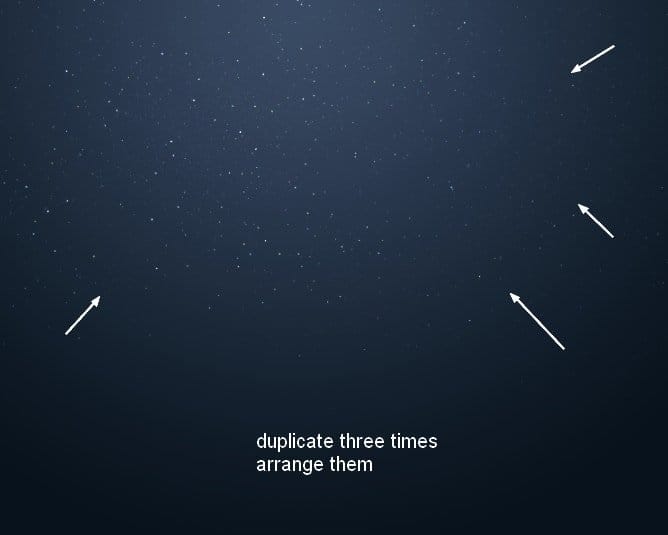
Open the star background pack. I chose the image “starry 1″ to drag onto our main document and change the mode to Color Dodge 100%:
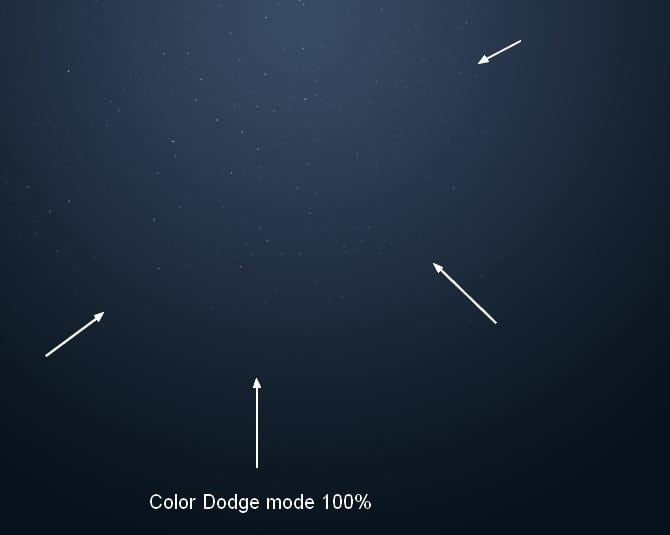
Duplicate this layer three times and arrange them around the dark background to make the starry effect stronger and more visible:
Step 4
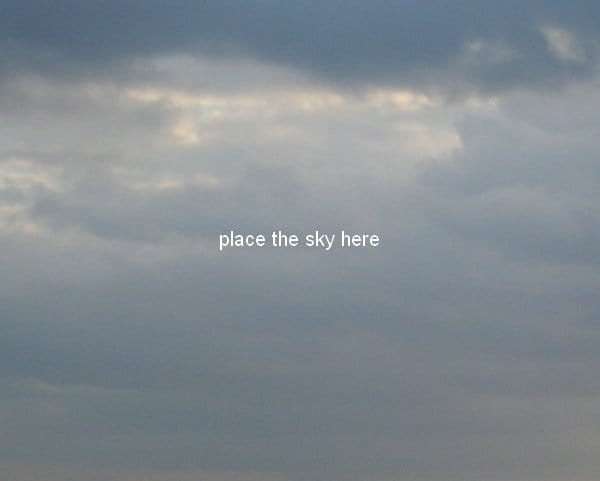
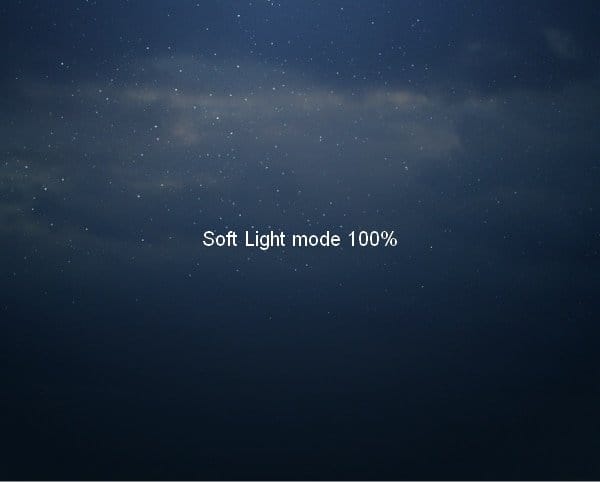
Place the sky image over the main document and change the mode to Soft Light 100%:
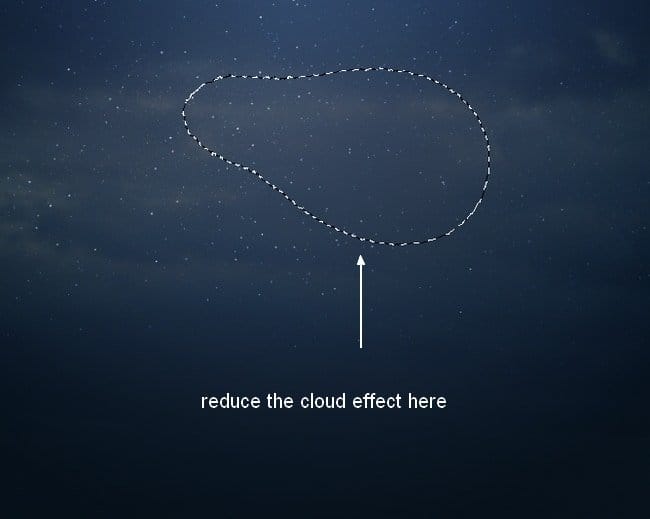
Click the second button at the bottom of the Layers Panel to add a mask to this layer. Use a basic, soft brush with black color, the opacity about 30-40% to reduce the cloud effect on the background:
Step 5
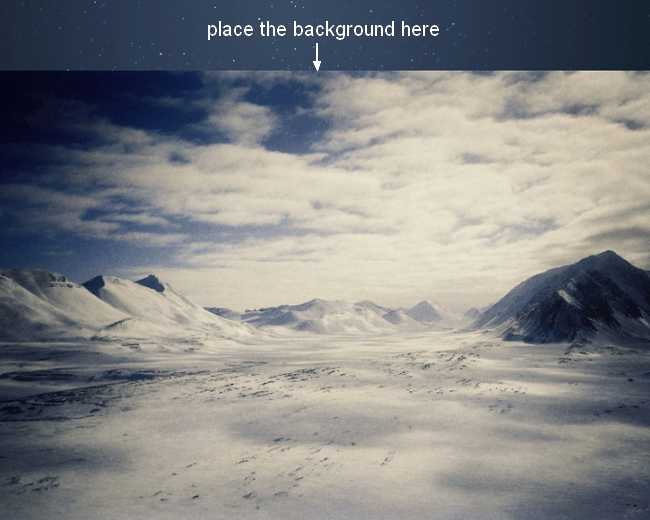
Drag the background image into our working document:
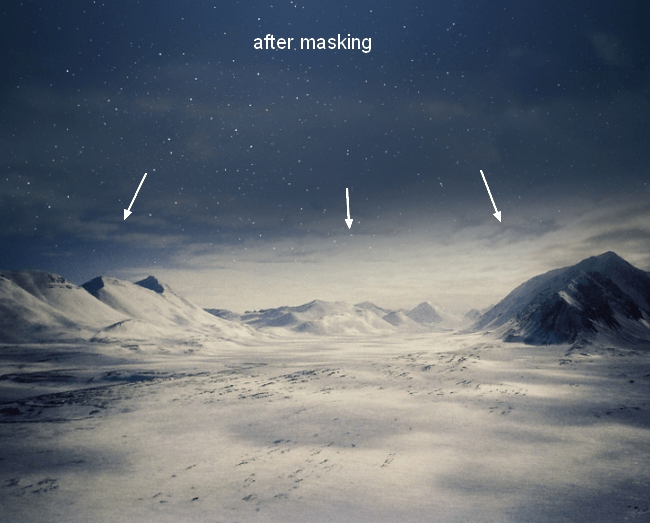
Add a mask to this layer and use a soft black brush to remove the sky edges and blend it with the starry sky:
Step 6
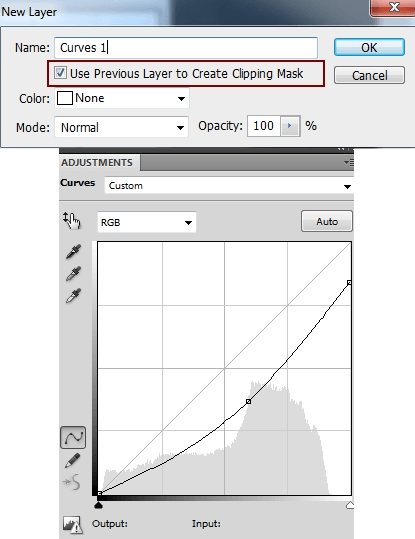
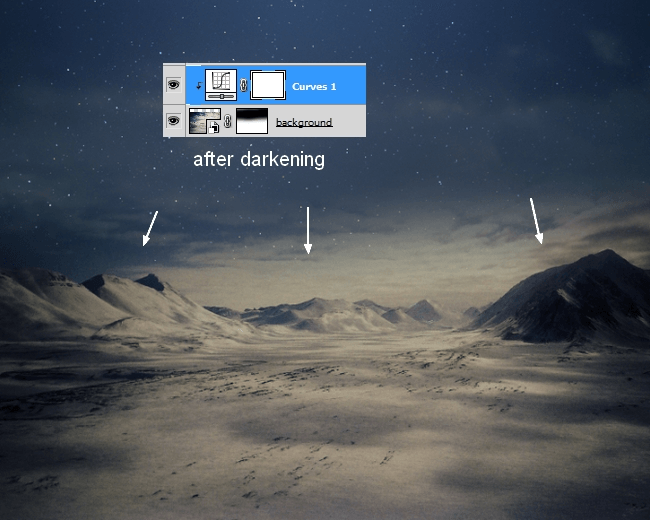
I used an adjustment layer with Clipping Mask to darken the desert. Go to Layer > New Adjustment Layer > Curves:
Step 7
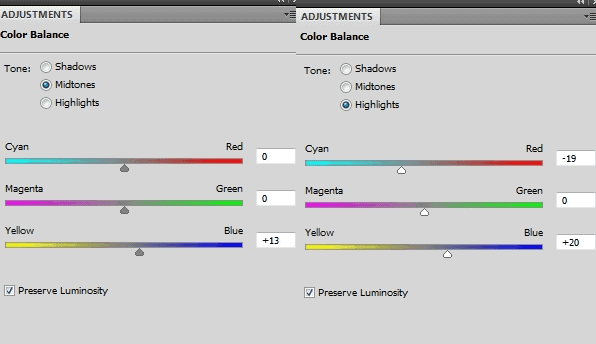
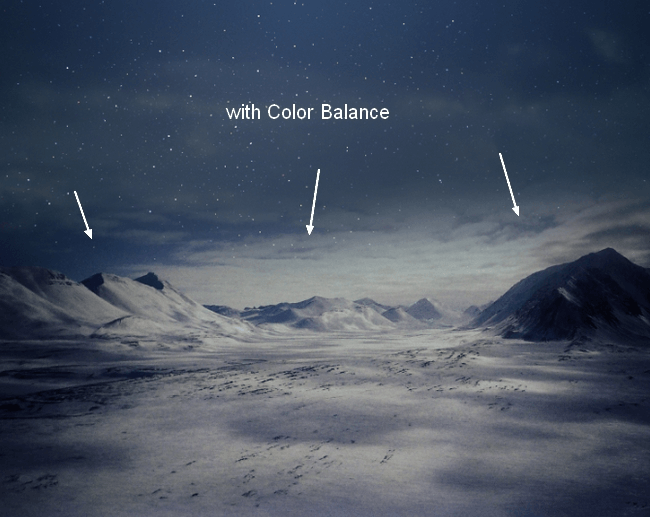
I used a Color Balance adjustment layer (Clipping Mask) to match the desert color with the background:
Step 8
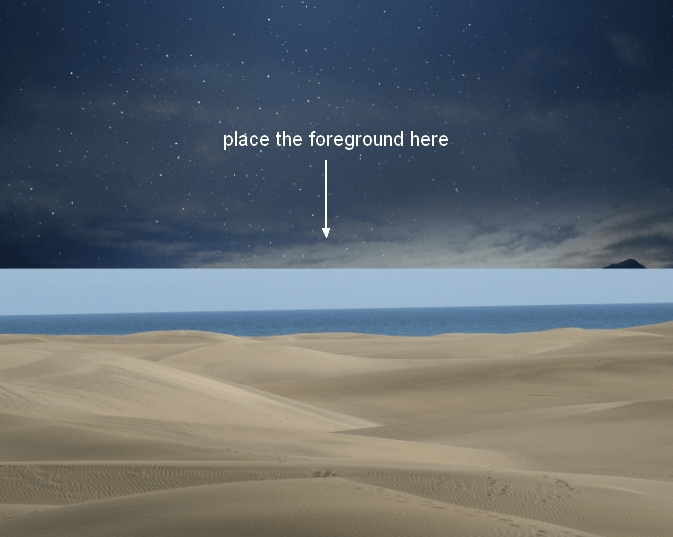
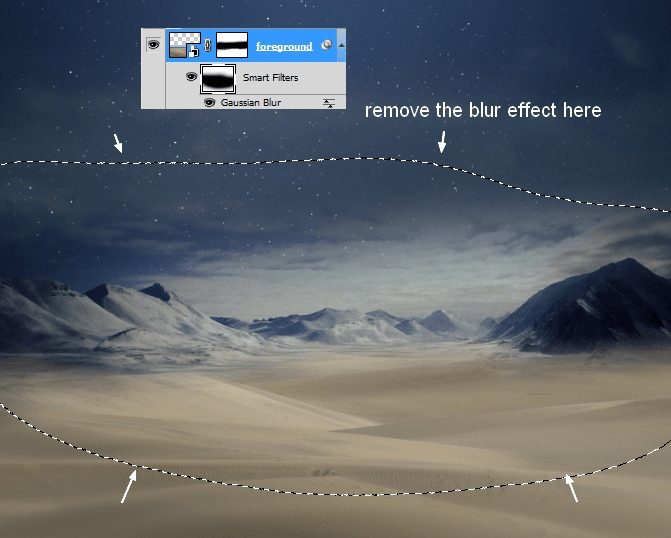
Open the foreground image and place it in the foreground of our main document, transform it as shown below:
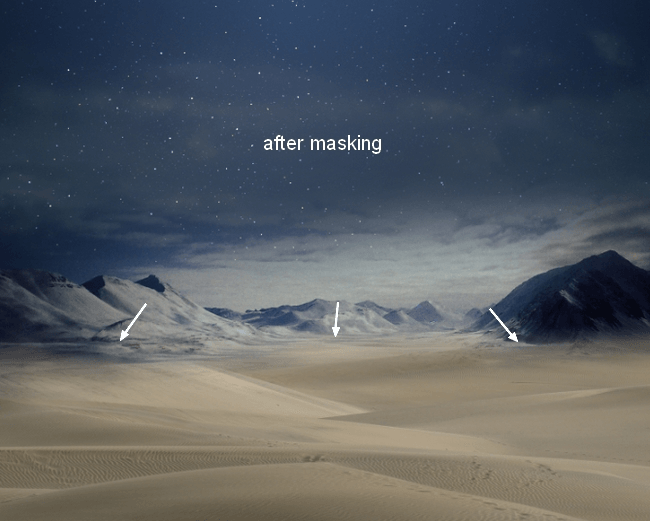
Add a mask to this layer and blend the foreground with the background:
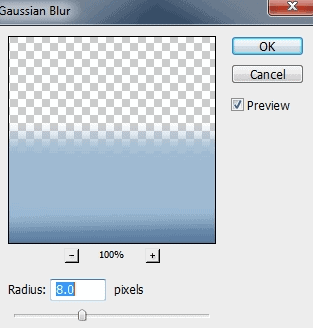
Go to Filter > Blur > Gaussian Blur and set the radius to 8px:
On the Filter Mask use a soft black brush to remove the blur effect on the midground and background and create a depth for the scene:
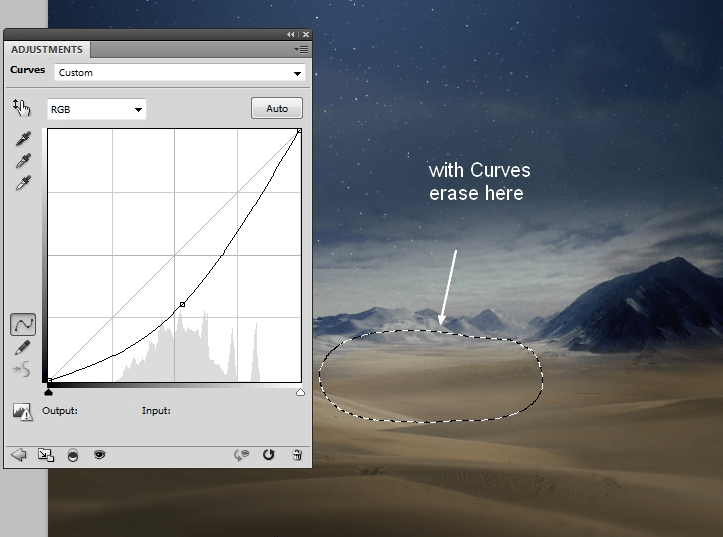
Step 9
I used Curved to darken the foreground. On this layer mask use a soft black brush with the opacity about 40-45% to reduce the dark effect on the part near the background:
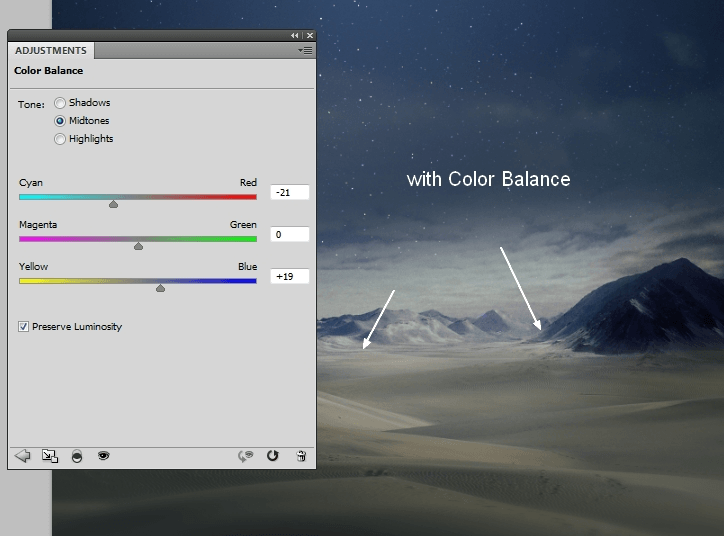
Step 10
I used Color Balance the change the foreground color:
Step 11
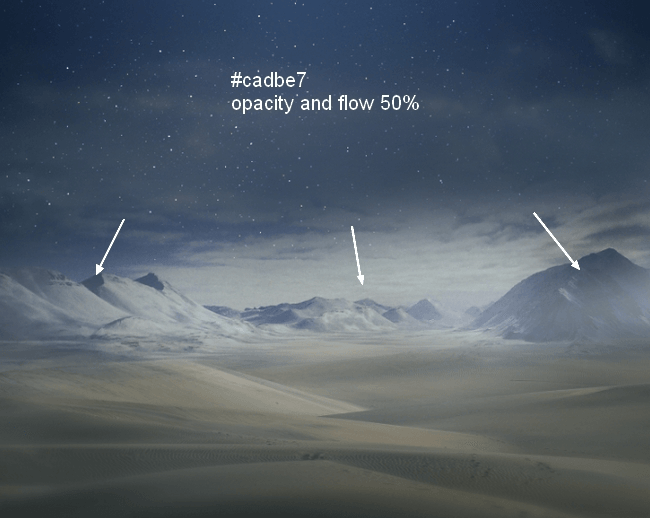
To add some misty effect to the scene, I made a new layer, used a soft brush with the color #cadbe7, the opacity and flow about 50% to paint over the image, especially the mountains:
Step 12
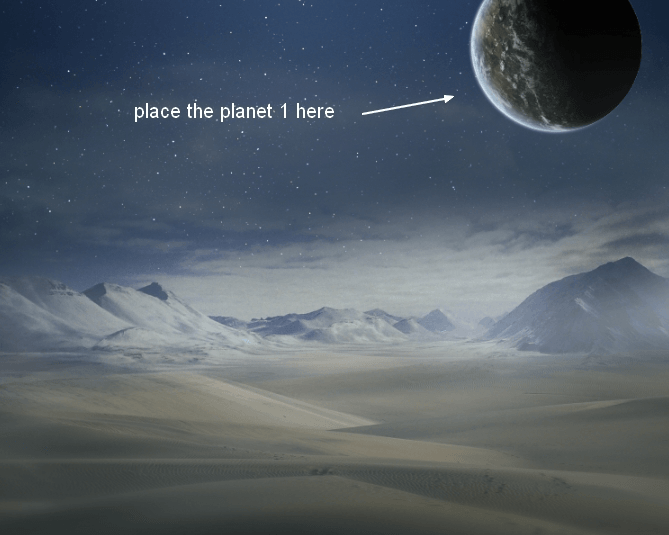
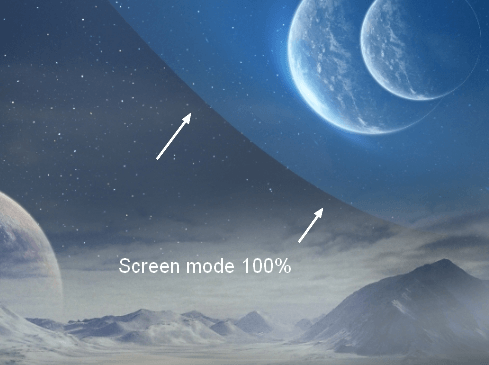
Open the planet 1 file. Hide the dark background and press Cmd/Ctrl+Option/Alt+Shift+E to merge all visible layers. Move the merged planet into our main document, place it at the top right of the sky. Position this layer under the foreground and background ones.
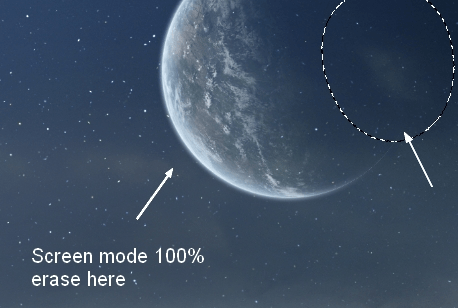
Change the mode to Screen 100% and use a layer mask to blend the dark side of the planet with the sky:
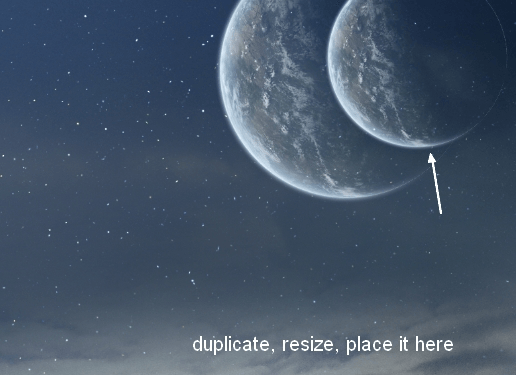
Duplicate this layer and resize it to be smaller. Place it beside the first:
Step 13
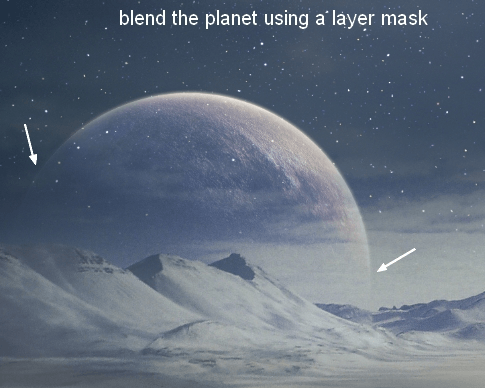
Place the planet 2 at the left side of the image, behind the mountains, change the mode to Screen 100%. Use a layer mask to blend it with the sky:

Step 14
Open the star background pack. I chose the image “starry 5″ and placed it onto the planets at the top right. Use Cmd/Ctrl+T (Warp mode) to tweak it and set this layer under the planet group:
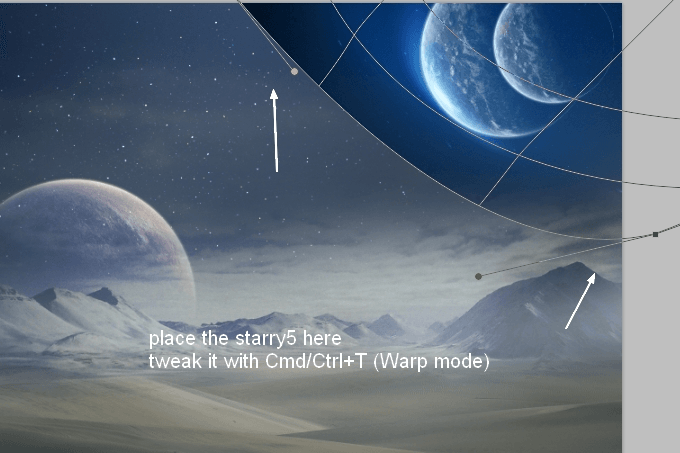
Change the mode to Screen 100%:
from Photoshop Tutorials http://ift.tt/1BGiv1u
via IFTTT

0 Comments